
Jira
Use the Jira integration to create issues from UI Zap with captures and context.
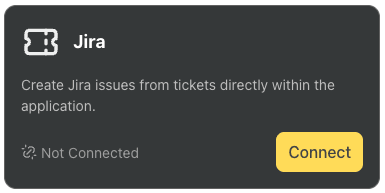
Connect Jira
- In the UI Zap dashboard → Integrations, click “Connect” on the Jira card.
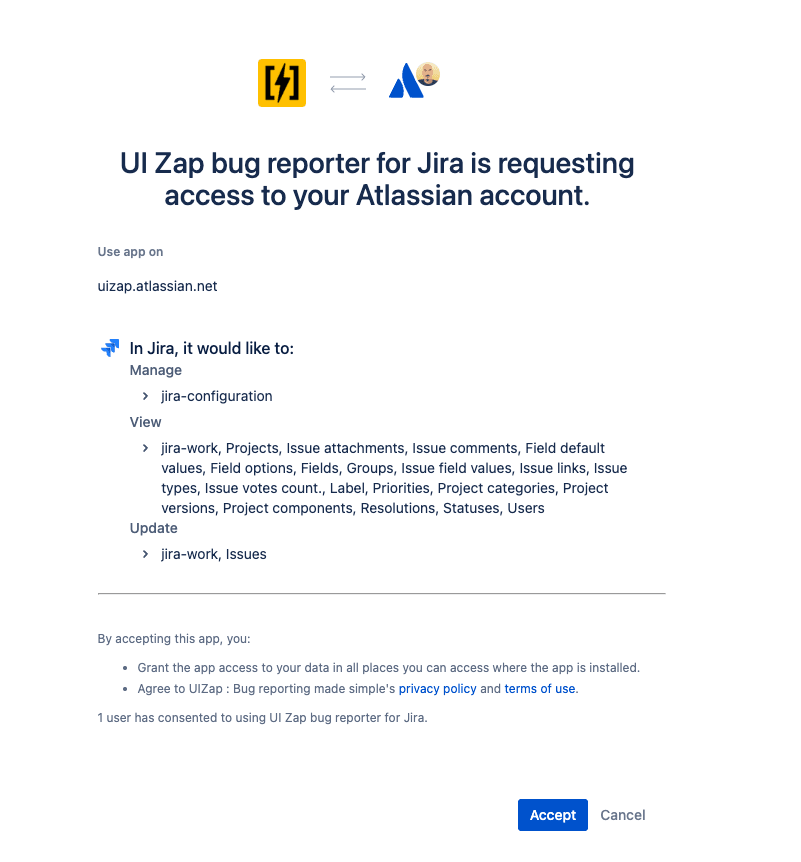
- You’ll be redirected to Jira to authenticate and allow UI Zap to access your workspace.
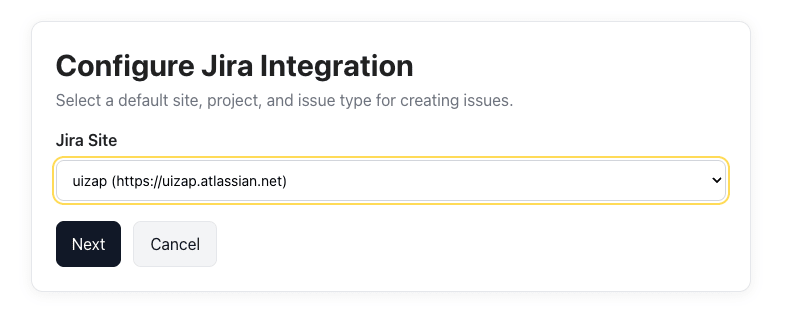
- After authorization, you’ll return to the UI Zap dashboard to configure where issues should be created.
Select your Jira site
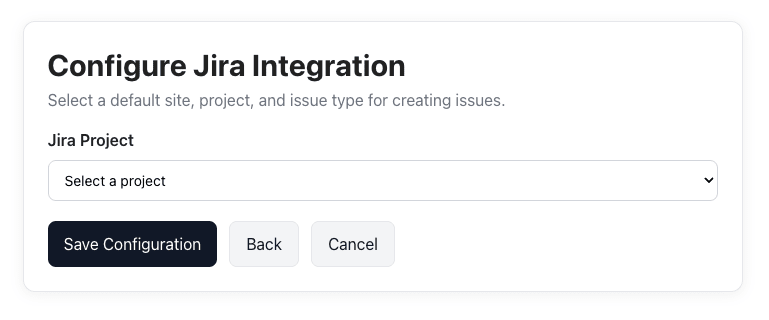
Select the project
Select the issue type
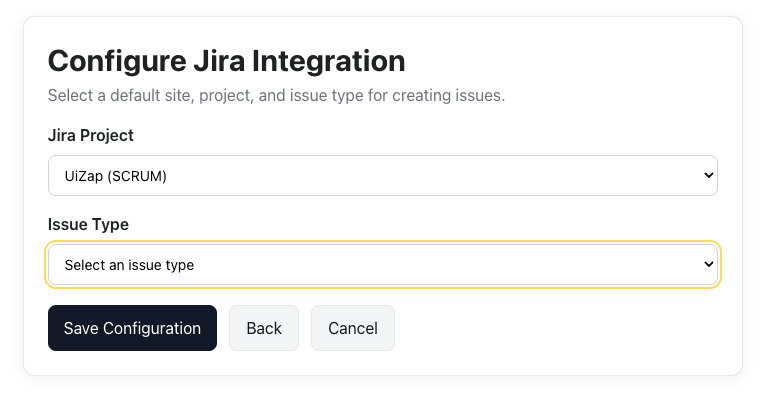
Once saved, UI Zap will map newly created tickets to this site/project/issue type in Jira. You can change these defaults at any time.
Send a report to Jira
- From the review page (after capture), choose the Jira integration.
- UI Zap creates a Jira issue with your capture (image/video or replay link) and attached context (logs/metadata).